# Securing Kubernetes Dashboard
The following guide covers how to secure Kubernetes Dashboard (opens new window) using Pomerium. Kubernetes Dashboard is a powerful, web-based UI for managing Kubernetes clusters. Pomerium can act as a forward-auth provider and as an independent identity-aware access proxy improving and adding single-sign-on to Kubernetes Dashboard's default access control. This guide aims to demonstrate a concrete example of those two methods of access control.

This tutorial covers:
- Installing Helm (opens new window) a package manager for Kubernetes
- Deploying NGINX Ingress Controller (opens new window)
- Install and configure Cert-Manager (opens new window) to issue LetsEncrypt (opens new window) certificates
- Deploying Pomerium
- Deploying Kubernetes Dashboard (opens new window)
- Secure Kubernetes Dashboard access:
- directly, using Pomerium's proxy component
- indirectly, using Pomerium as a forward-auth provider
WARNING
nginx-ingress version 0.26.2 (opens new window) contains a regression that breaks external auth and results in an infinite loop.
# Background
Though securing kubernetes dashboard (opens new window) as an example may seem contrived, the damages caused by an unsecured dashboard is a real threat vector. In late 2018, Telsa determined (opens new window) that the hackers who were running crypto-mining malware (opens new window) on their cloud accounts came in through an unsecured Kubernetes Dashboard (opens new window) instance.
# Helm
First, we will install Helm (opens new window). Helm is a package manager similar to apt-get or brew but for Kubernetes and it's what we'll use to install Pomerium, nginx-ingress, cert-manager, and the dashboard.
# Install
There are two parts to Helm: the client, and the server. This guide will cover the most common installation path. Please refer to the Helm install (opens new window) instructions for more details, and other options.
# Client
We'll install by installing the helm client on our client on our local machine.
OSX via homebrew (opens new window).
brew install kubernetes-helmCopied!
Linux via snap (opens new window).
sudo snap install helm --classicCopied!
A script for the trusting (opens new window) 😉.
curl -L https://git.io/get_helm.sh | bashCopied!
Add the default repository
helm repo add pomerium https://helm.pomerium.ioCopied!
# NGINX Ingress
NGINX ingress controller (opens new window) is a Kubernetes Ingress (opens new window) based on NGINX (opens new window) the is a very popular, full-feature reverse-proxy. We will use NGINX in two configurations: as a fronting proxy, and as proxy that delegates every request's access-control decision to Pomerium using forward-auth.
Also, please note that while this guide uses NGINX Ingress Controller (opens new window), Pomerium can act as a forward auth-provider alongside other fronting ingresses like Traefik (opens new window), Ambassador (opens new window), and envoy (opens new window) in a similar fashion.
# Install
NGINX Ingress controller can be installed via Helm (opens new window) from the official charts repository. To install the chart with the release name helm-nginx-ingress:
helm repo add stable https://kubernetes-charts.storage.googleapis.com helm repo update # important to make sure we get >.30 helm install helm-nginx-ingress stable/nginx-ingressCopied!
NAME: helm-nginx-ingress .... NAMESPACE: default STATUS: DEPLOYEDCopied!
Confirm the ingress has been installed, and that an external LoadBalancer IP has been set.
$kubectl get svcCopied!
NAME TYPE CLUSTER-IP EXTERNAL-IP PORT(S) AGE helm-nginx-ingress-controller LoadBalancer 10.99.182.128 localhost 80:31059/TCP,443:32402/TCP 15m helm-nginx-ingress-default-backend ClusterIP 10.108.251.51 <none> 80/TCP 15m kubernetes ClusterIP 10.96.0.1 <none> 443/TCP 93mCopied!
We now have a kubernetes ingress resource that can be used to delegate access control decisions to or front-proxy for Pomerium.
# Certificates
Cert-manager (opens new window) is a Kubernetes plugin that helps automate issuance of TLS certificates. In our case, we will use cert-manager to retrieve certs to each of our configured routes.
# Install
Like in previous steps, we will use Helm (opens new window) to install Cert-manager (opens new window).
# Install the CustomResourceDefinition resources separately $ kubectl apply --validate=false -f https://github.com/jetstack/cert-manager/releases/download/v0.12.0/cert-manager.yaml # Create the namespace for cert-manager $ kubectl create namespace cert-manager # Add the Jetstack Helm repository helm repo add jetstack https://charts.jetstack.io # Update your local Helm chart repository cache helm repo update # Install the cert-manager Helm chart helm install \ --namespace cert-manager \ --version v0.12.0 \ cert-manager \ jetstack/cert-managerCopied!
And we'll confirm cert-manager is up and running.
$ kubectl get pods --namespace cert-managerCopied!
NAME READY STATUS RESTARTS AGE cert-manager-756d9f56d6-brv6z 1/1 Running 0 23s cert-manager-cainjector-74bb68d67c-7jdw6 1/1 Running 0 23s cert-manager-webhook-645b8bdb7-8kgc9 1/1 Running 0 23sCopied!
# Configure
Now that cert-manager is installed, we need to make one more configuration to be able to retrieve certificates. We need to add a http-01 issuer (opens new window) for use with LetsEncrypt (opens new window).
$ kubectl apply -f docs/recipes/yml/letsencrypt-prod.yamlCopied!
# letsencrypt-prod.yaml # As LE has very strict usage limits, it is highly suggested you start with staging # https://letsencrypt.org/docs/staging-environment/ apiVersion: cert-manager.io/v1alpha2 kind: Issuer metadata: name: letsencrypt-prod # letsencrypt-staging namespace: default spec: acme: server: https://acme-v02.api.letsencrypt.org/directory # https://acme-staging-v02.api.letsencrypt.org/directory email: your@email.example # your email :) privateKeySecretRef: name: letsencrypt-prod # letsencrypt-staging solvers: - selector: {} http01: ingress: class: nginxCopied!
And confirm your issuer is set up correctly.
$ kubectl describe issuerCopied!
Name: letsencrypt-prod ... API Version: cert-manager.io/v1alpha2 Kind: Issuer Metadata: Spec: Acme: Private Key Secret Ref: Name: letsencrypt-prod Server: https://acme-v02.api.letsencrypt.org/directory Solvers: Http 01: Ingress: Class: nginx Selector: Status: Acme: Last Registered Email: .... Uri: https://acme-v02.api.letsencrypt.org/acme/acct/69070883 Conditions: Message: The ACME account was registered with the ACME server Reason: ACMEAccountRegistered Status: True Type: ReadyCopied!
If you see something like the above, cert-manager should be all set to help issue you new certificates when you create a new https protected ingress. Note, if you need wild-card certificates, you may also need a DNS-01 (opens new window) type issuer.
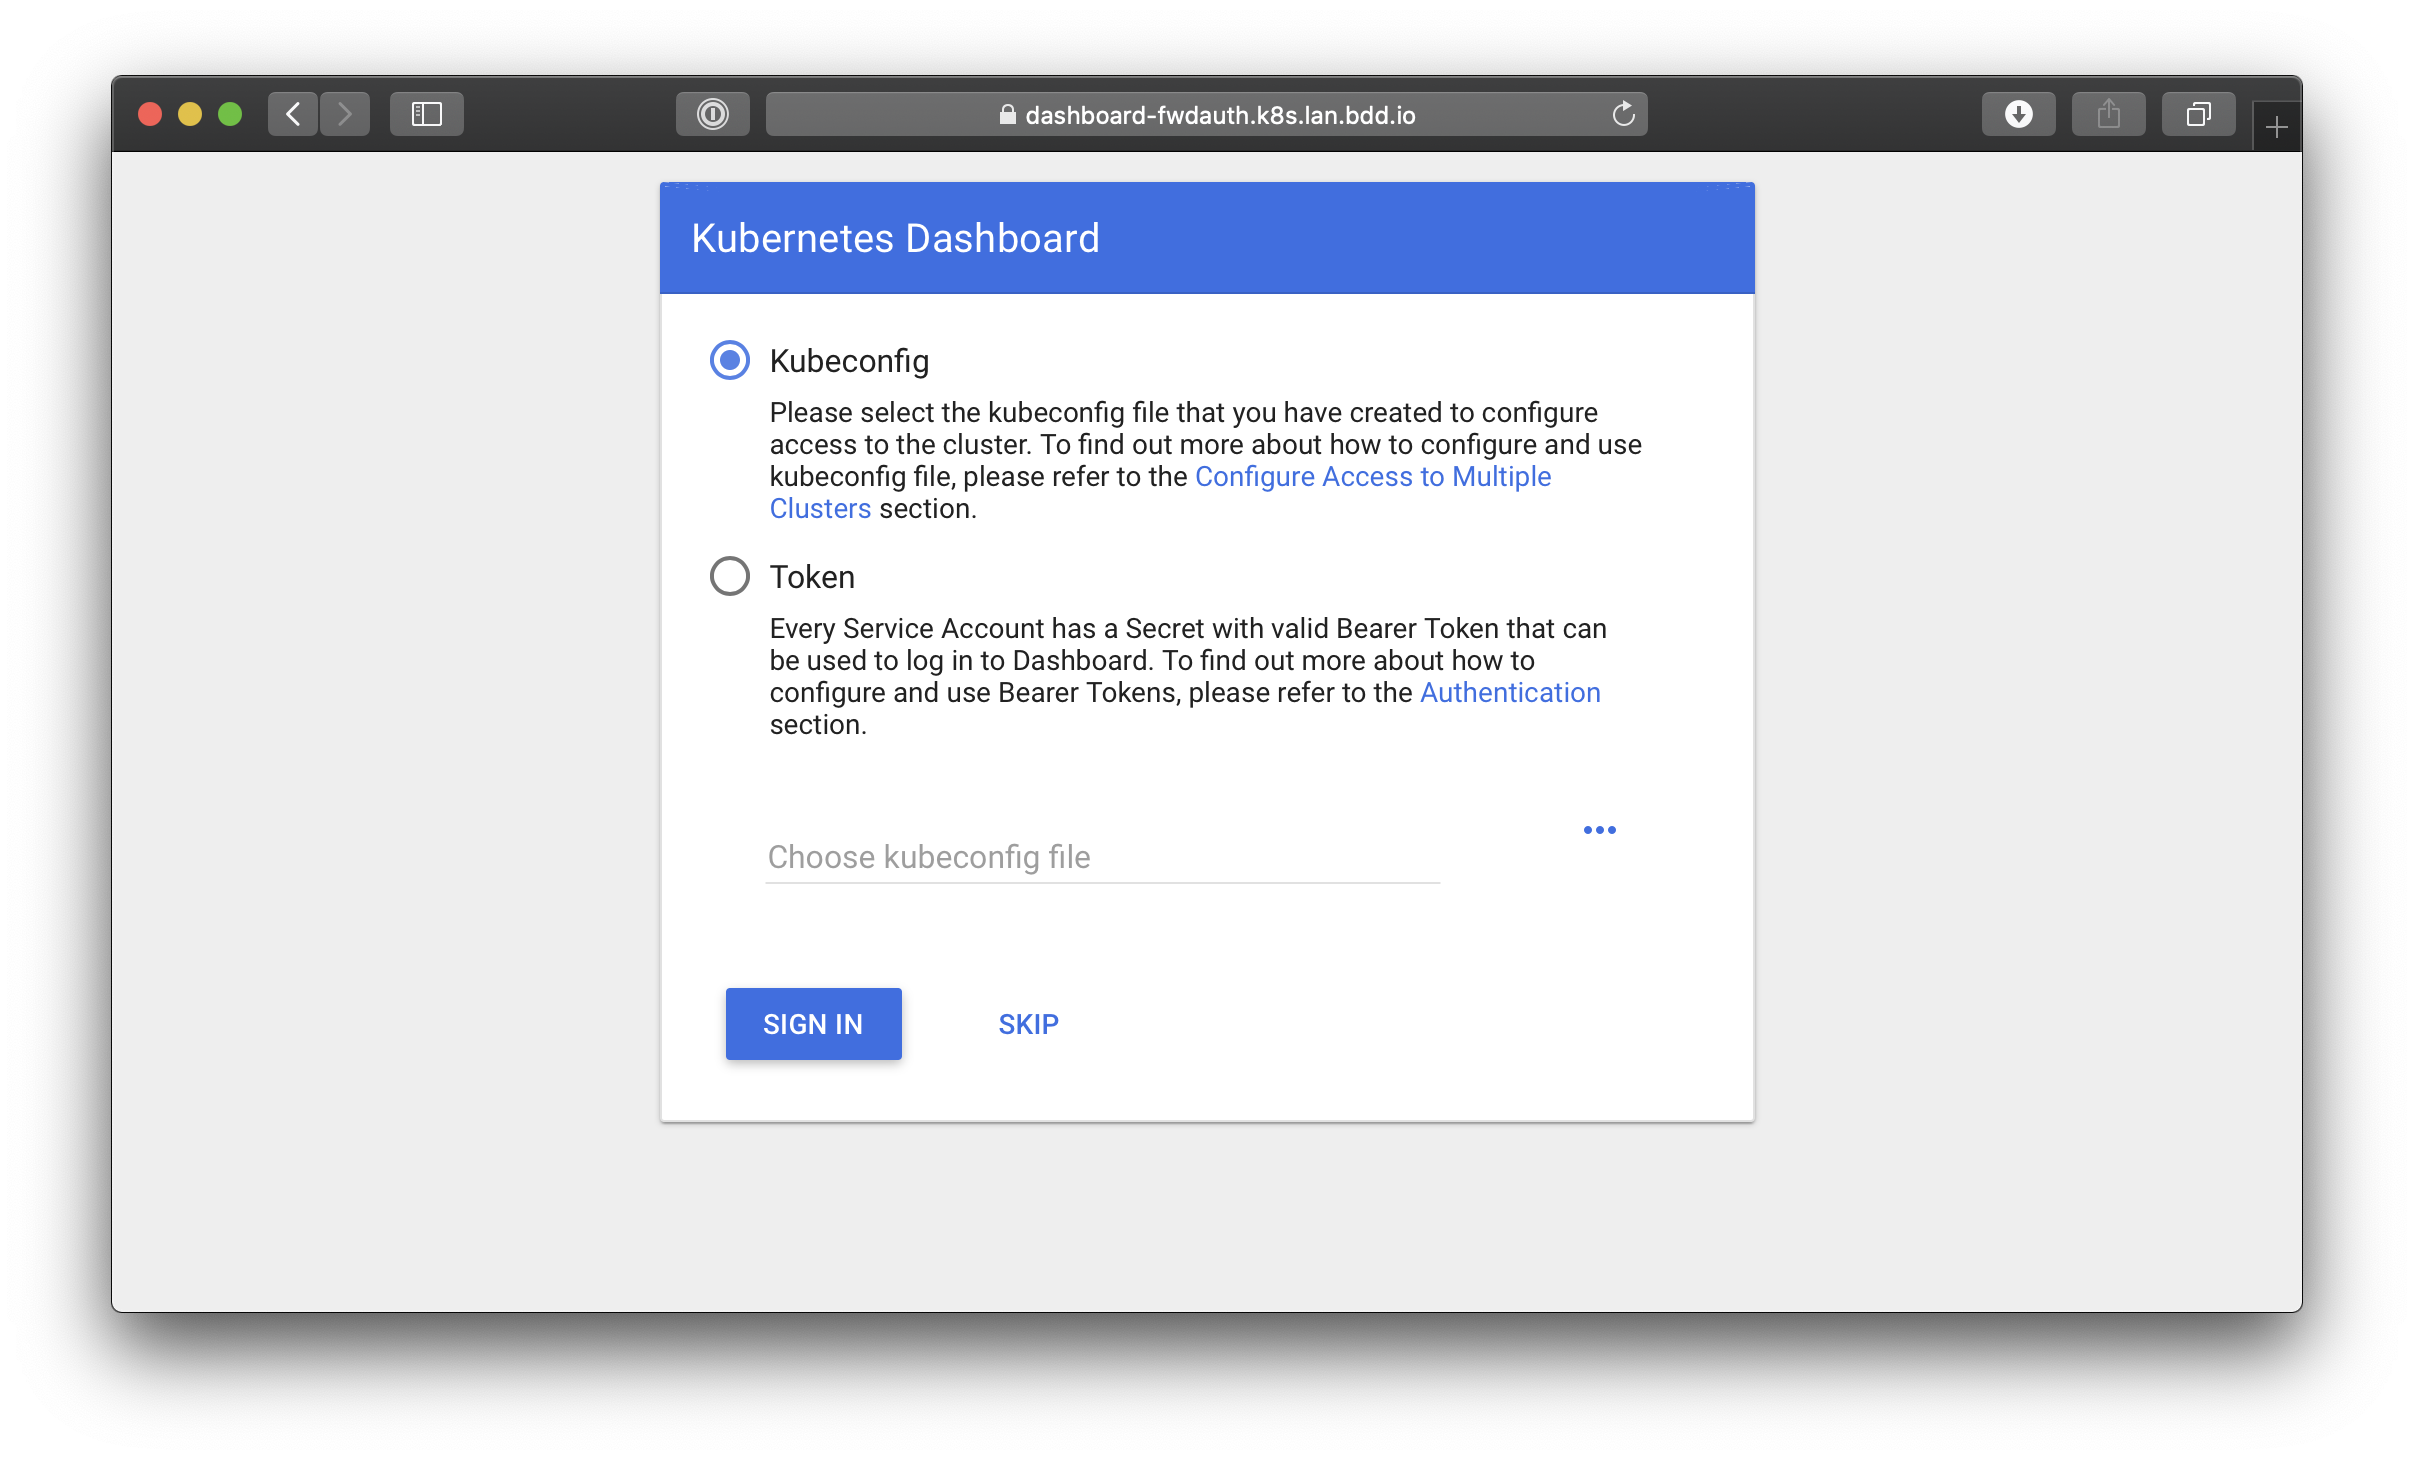
# Dashboard
Kubernetes Dashboard (opens new window) is a general purpose, web-based UI for Kubernetes clusters. It allows users to manage applications running in the cluster and troubleshoot them, as well as manage the cluster itself.
# Install
As with the previous steps, we can use Helm (opens new window) to install our instance of Kubernetes Dashboard (opens new window).
helm install \ helm-dashboard \ stable/kubernetes-dashboard \ --set ingress.enabled="false" \ --set enableSkipLogin="true"Copied!
That's it. We've now configured kubernetes dashboard to use the default service account, if none-is provided. We've also explicitly told helm that we are going to deploy our own custom, nginx / Pomerium / cert-manager enabled ingress.
# Pomerium
Pomerium is an identity-aware access proxy that can used to serve as an identity-aware reverse proxy, or as a forward-auth provider.
# Configure
Before installing, we will configure Pomerium's configuration settings in values.yaml. Other than the typical configuration settings covered in the quick-start guides, we will add a few settings that will make working with Kubernetes Dashboard easier.
We can retrieve the token to add to our proxied policy's authorization header as follows.
$ kubectl describe secret helm-dashboardCopied!
Name: dashboard-kubernetes-dashboard-token-bv9jq Namespace: default Labels: <none> Annotations: kubernetes.io/service-account.name: dashboard-kubernetes-dashboard kubernetes.io/service-account.uid: 18ab35ee-eca1-11e9-8c75-025000000001 Type: kubernetes.io/service-account-token Data ==== ca.crt: 1025 bytes namespace: 7 bytes token: eyJhbGciOiJSUzI1NiIsImtpZCI6IiJ9.......Copied!
The above token then needs to be assigned to our route configuration and policy.
# values.yaml authenticate: idp: provider: "google" clientID: YOUR_CLIENT_ID clientSecret: YOUR_SECRET forwardAuth: enabled: true config: sharedSecret: YOUR_SHARED_SECRET cookieSecret: YOUR_COOKIE_SECRET routes: # this route is directly proxied by pomerium & injects the authorization header - from: https://dashboard-proxied.domain.example to: https://helm-dashboard-kubernetes-dashboard policy: - allow: or: - email: is: user@domain.example tls_skip_verify: true # dashboard uses self-signed certificates in its default configuration set_request_headers: Authorization: Bearer eyJhbGciOiJSUzI1NiIsImtpZCI6IiJ9..... # this route is indirectly checked for access using forward-auth - from: https://dashboard-forwardauth.domain.example to: https://helm-dashboard-kubernetes-dashboard policy: - allow: or: - email: is: user@domain.example ingress: annotations: kubernetes.io/ingress.class: "nginx" cert-manager.io/issuer: "letsencrypt-prod" # see `le.issuer.yaml` nginx.ingress.kubernetes.io/backend-protocol: "HTTPS" secretName: pomerium-ingress-tlsCopied!
# Install
Finally, we get to install Pomerium! 🎉 Once again, we will use Helm to deploy Pomerium.
helm install \ "helm-pomerium" \ pomerium/pomerium \ --values values.yamlCopied!
# Putting it all together
Now we just need to tell external traffic how to route everything by deploying the following ingresses.
$kubectl apply -f docs/recipes/yml/dashboard-forwardauth.ingress.yamlCopied!
# dashboard-forwardauth.ingress.yaml apiVersion: extensions/v1beta1 kind: Ingress metadata: name: dashboard-forwardauth annotations: kubernetes.io/ingress.class: "nginx" cert-manager.io/issuer: "letsencrypt-prod" # see `letsencrypt.issuer.yaml` nginx.ingress.kubernetes.io/backend-protocol: "HTTPS" nginx.ingress.kubernetes.io/auth-url: "https://forwardauth.domain.example/verify?uri=$scheme://$host$request_uri" nginx.ingress.kubernetes.io/auth-signin: "https://forwardauth.domain.example?uri=$scheme://$host$request_uri" spec: tls: - hosts: - dashboard-forwardauth.domain.example secretName: dashboard-forwardauth-tls rules: - host: dashboard-forwardauth.domain.example http: paths: - path: / backend: serviceName: helm-dashboard-kubernetes-dashboard servicePort: httpsCopied!
$kubectl apply -f docs/recipes/yml/dashboard-proxied.ingress.yamlCopied!
# dashboard-proxied.ingress.yaml apiVersion: extensions/v1beta1 kind: Ingress metadata: name: dashboard-proxied annotations: kubernetes.io/ingress.class: "nginx" cert-manager.io/issuer: "letsencrypt-prod" # see `letsencrypt.issuer.yaml` nginx.ingress.kubernetes.io/backend-protocol: "HTTPS" spec: tls: - hosts: - dashboard-proxied.domain.example secretName: dashboard-proxied-tls rules: - host: dashboard-proxied.domain.example http: paths: - path: / backend: serviceName: helm-pomerium-proxy servicePort: httpsCopied!
And finally, check that the ingresses are up and running.
$kubectl get ingressCopied!
NAME HOSTS ADDRESS PORTS AGE dashboard-forwardauth dashboard-forwardauth.domain.example 80, 443 42h dashboard-proxied dashboard-proxied.domain.example 80, 443 42h helm-pomerium *.domain.example,authenticate.domain.example 80, 443 42hCopied!
You'll notice this is the step where we put everything together. We've got nginx (opens new window) handling the initial requests, cert-manager (opens new window) handling our public certificates, and Pomerium handling access control.
# Conclusion
Though the net result will be similar between using forward-auth and direct proxying, there are a few differences:
By having Pomerium directly proxy the requests, you as an administrator have control control over the underlying request. In this example, we are able to inject an authenticating bearer token header to the downstream request which arguably makes for a better user experience.
Conversely, going the forward-auth route potentially means using the ingress / reverse proxy you are are already accustomed to or have already modified to support your particular deployment.
In the end, you should choose whichever option makes the most sense for your use-case and environment.
Whichever option you choose to go with, 🎉🍾🎊 congratulations 🎉🍾🎊! You now have a single-sign-on enabled Kubernetes Dashboard (opens new window) protected by Pomerium and automatically renewing LetsEncrypt (opens new window) certificates.