# Implementing mTLS With Pomerium
Secure communication on the web typically refers to using signed server certificates with the TLS protocol. TLS connections are both private and authenticated, preventing eavesdropping and impersonation of the server.
To authenticate clients (users), we typically use an identity provider (IDP). Clients must login before they can access a protected endpoint. However the TLS protocol also supports mutual authenticate (mTLS) via signed client certificates.
As of version 0.9.0, Pomerium supports requiring signed client certificates with the client_ca/client_ca_file configuration options. This guide covers how to configure Pomerium to implement mutual authentication using client certificates with a custom certificate authority.
# Creating Certificates
We will use the mkcert application to create the certificates. To install mkcert follow the instructions on Github (opens new window).
For this guide the localhost.pomerium.io domain will be our root domain (all subdomains on localhost.pomerium.io point to localhost). First create a trusted root certificate authority:
mkcert -install
Next create a wildcard certificate for *.localhost.pomerium.io:
mkcert '*.localhost.pomerium.io'
This creates two files in the current working directory:
_wildcard.localhost.pomerium.io.pem_wildcard.localhost.pomerium.io-key.pem
We will use these files for the server TLS certificate.
Finally create a client TLS certificate by running:
mkcert -client -pkcs12 '*.localhost.pomerium.io'
This creates a third file in the current working directory:
_wildcard.localhost.pomerium.io-client.p12
# Configure Pomerium
Create a config.yaml file in the current directory. (You can replace /YOUR/MKCERT/CAROOT in this example with the value of mkcert -CAROOT)
# config.yaml
address: ":8443"
authenticate_service_url: "https://authenticate.localhost.pomerium.io:8443"
certificate_file: "_wildcard.localhost.pomerium.io.pem"
certificate_key_file: "_wildcard.localhost.pomerium.io-key.pem"

# "$(mkcert -CAROOT)/rootCA.pem"
client_ca_file: "/YOUR/MKCERT/CAROOT/rootCA.pem"

# generate with "$(head -c32 /dev/urandom | base64)"
cookie_secret: "NvNqawPTQQelACkTovVcnfZQ3mP25Tv3DxeiUkRFyTA="
shared_secret: "NvNqawPTQQelACkTovVcnfZQ3mP25Tv3DxeiUkRFyTA="

# replace with your IDP provider
idp_provider: "google"
idp_client_id: YOUR_CLIENT_ID
idp_client_secret: YOUR_SECRET

routes:
  - from: "https://verify.localhost.pomerium.io:8443"
    to: "https://verify.org"
    policy:
      - allow:
          or:
            - accept: true
Start Pomerium with:
pomerium -config config.yaml
Before visiting the page in your browser we have one final step.
# Install Client Certificate
Because https://verify.localhost.pomerium.io:8443 now requires a client certificate to be accessed, we first need to install that client certificate in our browser. The following instructions are for Chrome, but client certificates are supported in all major browsers.
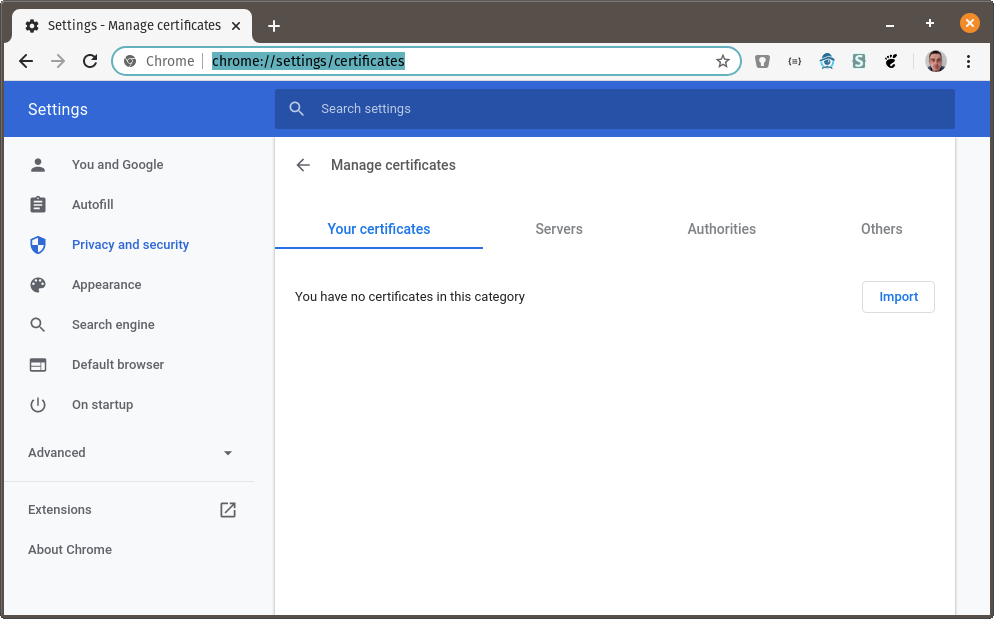
Go to chrome://settings/certificates:
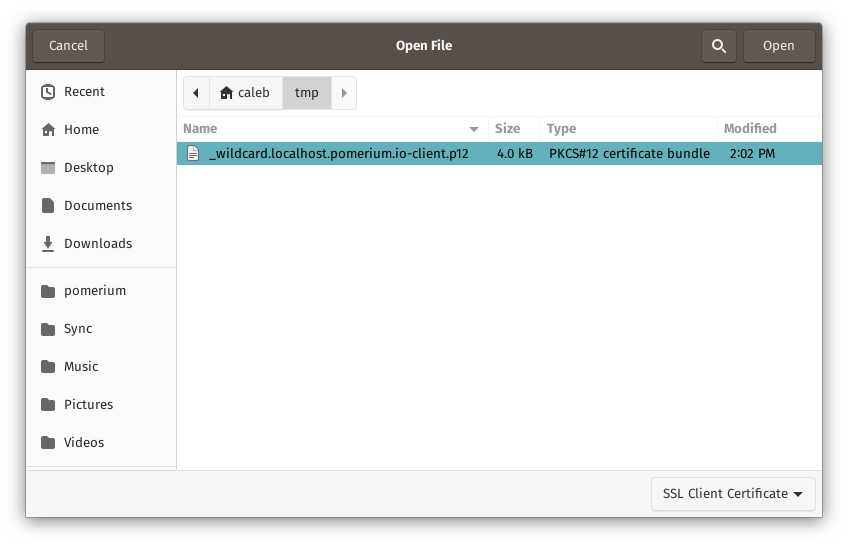
Next click on Import and browse to the directory where you created the certificates above. Choose _wildcard.localhost.pomerium.io-client.p12:
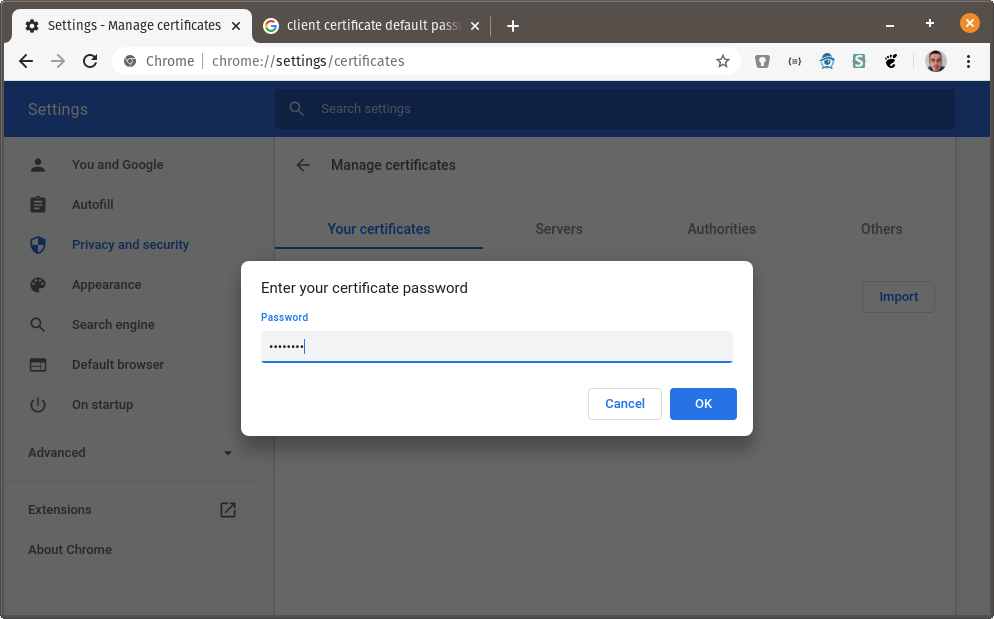
You will be prompted for the certificate password. The default password is changeit:
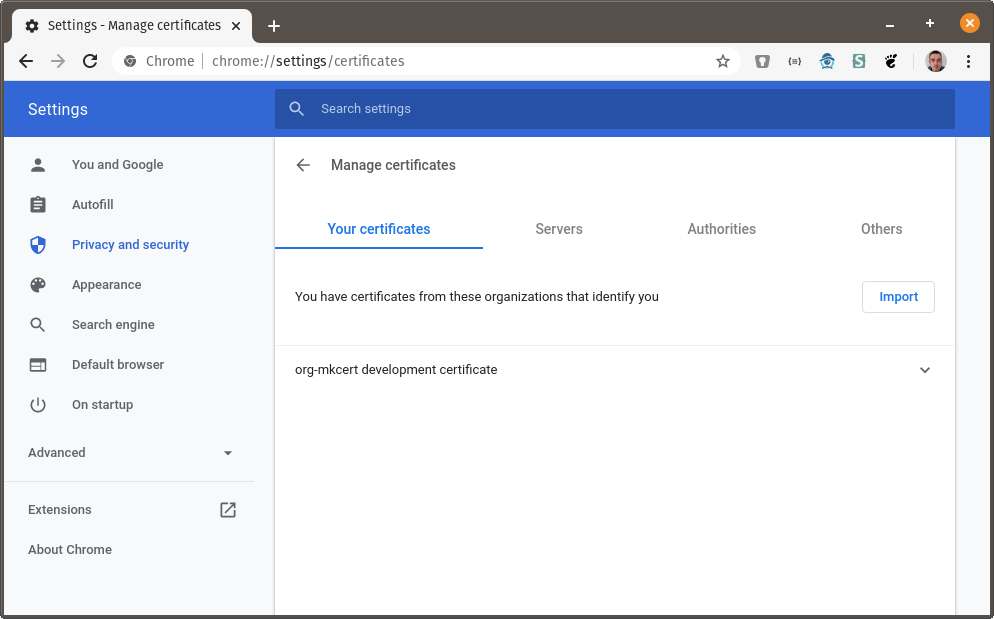
You should see the org-mkcert development certificate in the list of your certificates:
# Using the Client Certificate
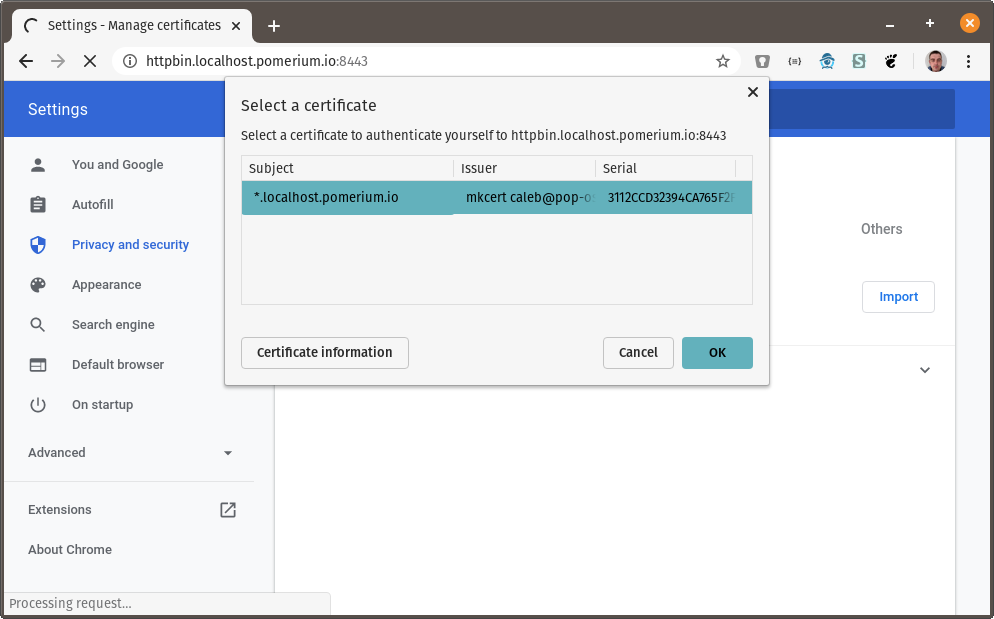
You can now visit https://verify.localhost.pomerium.io (opens new window) and you should be prompted to choose a client certificate:
